What Is a Roblox GUI?
A Roblox GUI (Graphical User Interface) is everything the player sees on top of the 3D game world — shop menus, health bars, coin counters, inventory grids, dialog popups, leaderboards. GUIs are how players interact with your game's systems without using the world itself.
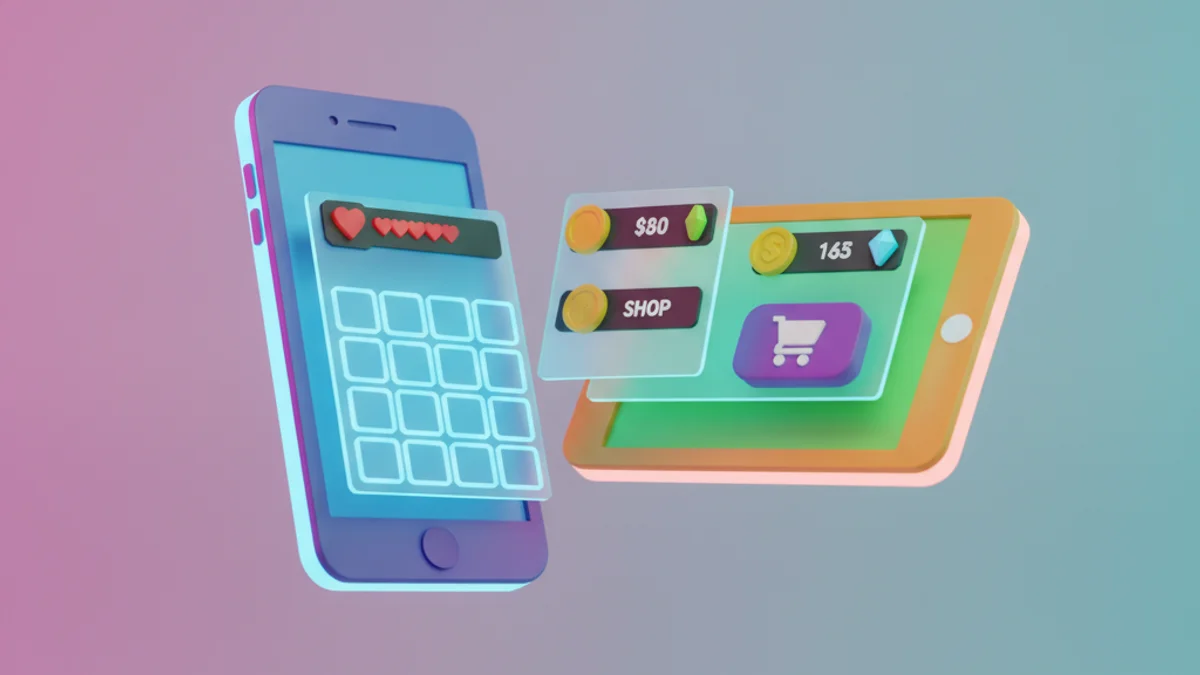
Good GUIs make a game feel professional. Bad GUIs (clunky, unreadable, slow) make even a great game feel amateur. This tutorial covers how to make a GUI in Roblox Studio from absolute zero — including how to make UI that works on mobile, the platform where most Roblox players actually play.
The Building Blocks of Roblox GUIs
Every Roblox GUI is made from a small set of UI objects:
- ScreenGui — the container that holds everything; lives in
PlayerGui - Frame — a rectangular container; the basic building block
- TextLabel — displays text
- TextButton — clickable text
- ImageLabel / ImageButton — displays/clicks images
- ScrollingFrame — container that scrolls when content overflows
- UICorner, UIPadding, UIStroke, UIGradient — visual polish modifiers
- UIListLayout, UIGridLayout — automatic positioning of children
Most production Roblox UIs use only these. Master them and you can build anything.
Step 1: Create Your First ScreenGui
- Open Roblox Studio
- In the Explorer, find StarterGui
- Right-click StarterGui > Insert Object > ScreenGui
- Rename it to something descriptive, like "MainMenu"
Anything you put inside this ScreenGui will copy to every player's PlayerGui when they join. That's how Roblox shows the same UI to everyone.
Step 2: Add a Frame
- Right-click your ScreenGui > Insert Object > Frame
- Click the Frame in the Explorer
- In Properties, set:
- Size:
{0.3, 0}, {0.4, 0}(30% wide, 40% tall — scale-based for responsive UI) - Position:
{0.35, 0}, {0.3, 0}(centered roughly) - BackgroundColor3: a dark color, e.g.,
0, 0, 0 - BackgroundTransparency:
0.2(slight translucency)
- Size:
You should see a translucent dark rectangle on screen. That's your panel.
Use Scale, Not Offset
This is the single most important rule for Roblox UI: use the scale values in Size and Position, not the offset values. Scale is a fraction of the screen (0.5 = half), so your UI adapts to any device. Offset is pixels and breaks on different screen sizes.
The format is UDim2.new(scaleX, offsetX, scaleY, offsetY). Use scale; leave offset at 0 unless you have a specific reason.
Step 3: Add a TextLabel Inside the Frame
- Right-click your Frame > Insert Object > TextLabel
- Set:
- Size:
{1, 0}, {0.2, 0}(full width of the frame, 20% tall) - Position:
{0, 0}, {0, 0} - Text: "Welcome!"
- TextScaled: true (auto-fits text to fit the label)
- TextColor3: white
- BackgroundTransparency: 1 (no background, see-through)
- Size:
Step 4: Add a TextButton
- Right-click your Frame > Insert Object > TextButton
- Set:
- Size:
{0.8, 0}, {0.15, 0} - Position:
{0.1, 0}, {0.7, 0} - Text: "Play"
- TextScaled: true
- BackgroundColor3: a bright color, e.g., green
- Size:
Step 5: Polish with UICorner
Sharp corners feel dated. Add rounded corners with UICorner:
- Right-click your Frame > Insert Object > UICorner
- Set CornerRadius to
{0, 12}(12 pixels) - Repeat for the TextButton
Now your panel and button have rounded corners. UIPadding (adds inner space), UIStroke (adds an outline), and UIGradient (background gradient) work the same way and dramatically upgrade the look.

Step 6: Make the Button Actually Do Something
UI is decorative until you script its behavior. Add a LocalScript inside the TextButton:
- Right-click the TextButton > Insert Object > LocalScript
- Paste:
local button = script.Parent
local frame = button.Parent

button.Activated:Connect(function()
  frame.Visible = false
end)
Hit Play. Click "Play" and the menu disappears. That's a functional UI.
Step 7: Open the GUI from a Server Event
Most real UIs open in response to something — a shop opens when a player touches a shopkeeper, a death screen shows when health hits zero. The pattern:
-- Server script
local ReplicatedStorage = game:GetService("ReplicatedStorage")
local event = Instance.new("RemoteEvent")
event.Name = "OpenShop"
event.Parent = ReplicatedStorage

-- Trigger from anywhere on the server:
event:FireClient(somePlayer)

-- LocalScript in StarterPlayerScripts
local ReplicatedStorage = game:GetService("ReplicatedStorage")
local shopGui = script.Parent.Parent.PlayerGui.ShopGui

ReplicatedStorage.OpenShop.OnClientEvent:Connect(function()
  shopGui.Enabled = true
end)
Roblox Mobile UI: Designing for Phones and Tablets
Mobile is the majority of Roblox players. Mobile UI design rules:
- Touch targets at least 50 pixels on the shortest dimension. Anything smaller is hard to tap.
- Don't put critical UI under the on-screen joystick. Roblox's mobile controls take the bottom-left and right corners.
- Use TextScaled. Phone screens vary wildly — fixed font sizes look tiny or huge.
- Test in Studio's Device Emulator. View tab > Device — pick "iPhone" or "Android Phone" to preview.
- Keep it minimal. Mobile screens are small. Hide secondary UI behind expand buttons.
Common Roblox GUI Mistakes (and How to Fix Them)
- Using offset sizes. UI looks fine on PC and broken on mobile. Use scale.
- No TextScaled. Text overflows or is too small. Turn TextScaled on for most labels.
- Nesting too deeply. 10-deep nested frames are hard to maintain. Flatten where possible.
- Forgetting ResetOnSpawn. Set ScreenGui.ResetOnSpawn to false if you don't want the UI to reset every time the player dies.
- Server-creating GUIs. Build UIs in StarterGui and use Remote events to control them — don't try to clone GUIs from server scripts.
Generate Roblox GUIs with AI
Building UIs manually in Studio is the slowest part of Roblox development for most teams. AI Roblox builders like Obby generate entire UI systems — shops, inventory grids, settings panels, dialogue boxes — wired up to your game's data automatically. Describe the UI you want and it appears with all the LocalScripts and Remote handlers correctly connected.